LG WM4000HWA Dimensions: Will It Fit Your Laundry Space?
The LG WM4000HWA measures 27 inches wide, 39 inches high and 30¼ inches deep. Its door-open depth is 55 inches. Those are appliance dimensions: the space behind it for connections still needs to be allowed for.
The measurements that decide whether it fits
| Measurement | Inches |
|---|---|
| Appliance, W × H × D | 27 × 39 × 30¼ |
| Installation cutout, W × H × D | 29 × 39¼ × 34¼ |
| Side / rear clearance | 1 each side / 4 behind |
| Door-open depth | 55 from appliance rear |
| Shipping carton, W × H × D | 29¾ × 41⅞ × 31½ |
Sources: LG consumer specification sheet and LG Pro Builder sheet, page 2. Dimensions are approximate manufacturer figures.
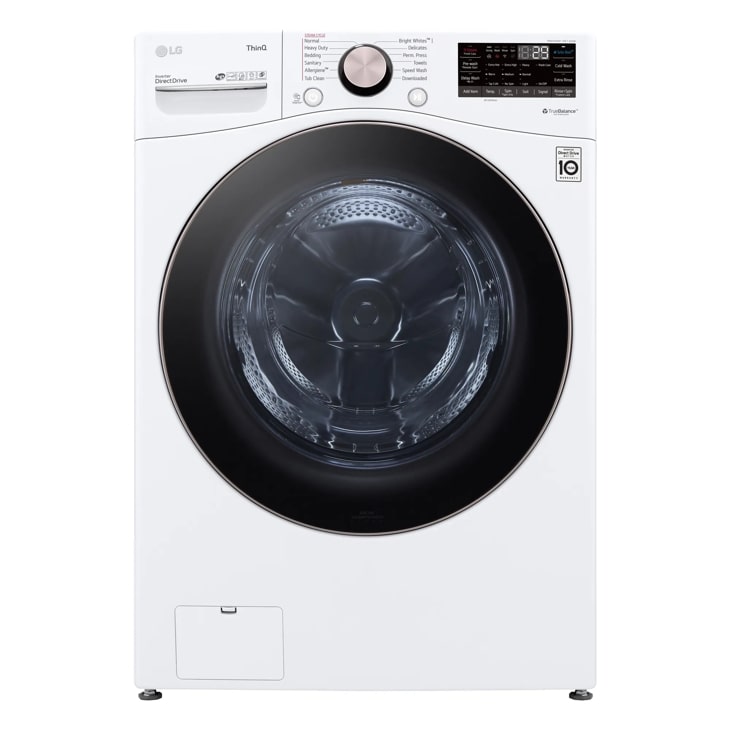
Why a 30¼-inch-deep washer needs more room
Check the machine, its rear connections and the door opening separately. A cabinet that fits can still leave too little room to load laundry.
The builder sheet allows 4 inches behind the washer for hoses and airflow. That explains the 34¼-inch cutout depth. A recessed hookup box may change how connections sit, but it is not a reason to assume you can reduce the specified clearance. Have the installer check the actual arrangement.
Measure to the obstruction that really limits the space: a closed closet door, a countertop edge or a projecting wall fitting. A room measurement taken above a baseboard can overstate the usable depth at floor level.
Will it fit? Compare your opening with these examples
These examples compare usable openings for a washer installed directly on the floor.
28″ opening width
A centered washer leaves only ½″ per side.
Below LG’s side-clearance reference. Rework the opening or compare another model.
29″ opening width
Matches the listed cutout width.
Check the tightest point: trim and uneven walls can reduce usable space.
35″ closet depth
Only ¾″ beyond the listed cutout depth.
Check fittings and the closed closet door before ordering.
60″ room depth
About 1″ remains beyond the calculated open-door reach.
Try your loading position. That remaining inch is not standing room.
Measure your space before you order
Use this worksheet for a washer installed directly on the floor. Measure at several points and record the smallest usable opening, including trim and projecting fittings. For a pedestal or stacked pair, use the complete assembly’s installation drawing.
Try the layout with tape. Mark the planned washer front and open-door reach on the floor. Open the room or closet door and check where you can stand with a laundry basket.
Photograph the hookups. Send the installer a clear photo of the water valves, drain, outlet and projecting trim, together with your measurements. Ask them to confirm connections, floor suitability and service access.
Confirm the route before delivery. Include stairs, landings and corners. If access is tight, ask how the washer will be unpacked and moved before booking delivery.
Stacking or adding a pedestal changes the plan
The 39-inch height applies to the washer alone. Do not use it as the height of a stacked pair or pedestal installation.
LG’s consumer sheet lists the KSTK4 stacking kit, WDP6W pedestal and matching white dryers DLEX4000W and DLGX4001W. Start with the stacking drawing on page 2 of LG’s builder sheet, then verify the selected dryer’s instructions and vent route. Washer-only cutout dimensions do not describe a stacked enclosure.
Accessory references can differ between document revisions. Confirm the full model suffix on your washer label before buying parts; a similar-looking LG appliance is not proof of compatibility.
Before you commit to this model
If the installation dimensions work but loading feels cramped, compare layouts before ordering. Discuss room-door movement and connection placement with the installer, or consider a shallower washer.
If it does not fit: write down your usable width, height and depth, plus the obstruction causing the problem. Compare those limits with another model’s installation drawing—not just its cabinet depth. Our washer dimension guides are a starting point for that comparison; they are not a list of shallower replacements.
Sources and scope
Updated and source documents checked October 7, 2026 (KST). This guide interprets manufacturer measurements for space planning; it is not a hands-on product review. We use the consumer sheet for appliance dimensions and current accessory references, and the model-specific builder drawing for installation clearances. Follow the manual supplied with your exact unit.